AWS Glue
Glue is a fully managed extract, transform, and load (ETL) service offered by Amazon Web Services. Glue discovers your data (stored in S3 or other databases) and stores the associated metadata (e.g. table definition and schema) in the Glue Data Catalog. Once cataloged, your data is immediately searchable, queryable, and available for ETL.
Once your ETL job is ready, you can schedule it to run on Glue’s fully managed, scale-out Apache Spark environment. It provides a flexible scheduler with dependency resolution, job monitoring, and alerting.
Glue provides out-of-the-box integration with Amazon Athena, Amazon EMR, Amazon Redshift Spectrum, and any Apache Hive Metastore-compatible application.
Discover Data Using Crawlers
AWS Glue is able to traverse data stores using Crawlers and populate data catalogues with one or more metadata tables. These tables could be used by ETL jobs later as source or target.
Below are the steps to add a crawler to analyse and catalogue data in an s3 bucket:
1. Sign in to the AWS Management Console and open the AWS Glue console. Choose the Crawlers tab.
2. Choose Add crawler, it’ll lunch the Add crawler wizard. Follow the Wizard:
a. Specify a name and description for your crawler.
b. Add a data store. Here you have options to specify an s3 bucket or a JDBC connection. After selecting s3, select option for “Specified path in my account” and select folder icon next to “Include path” to select where the data to be crawled is:

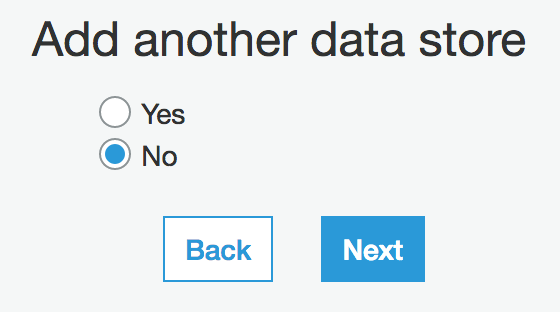
c. You can add another data source, in case you want to join data from 2 different places together:
d. Choose an IAM role that has permissions to work with Glue. This role should have full access to run Glue jobs as well as access to the s3 buckets it reads data from and stores script to:

e. Create a schedule for your Crawler. You can have it run on demand or chose one of the options in drop-down:

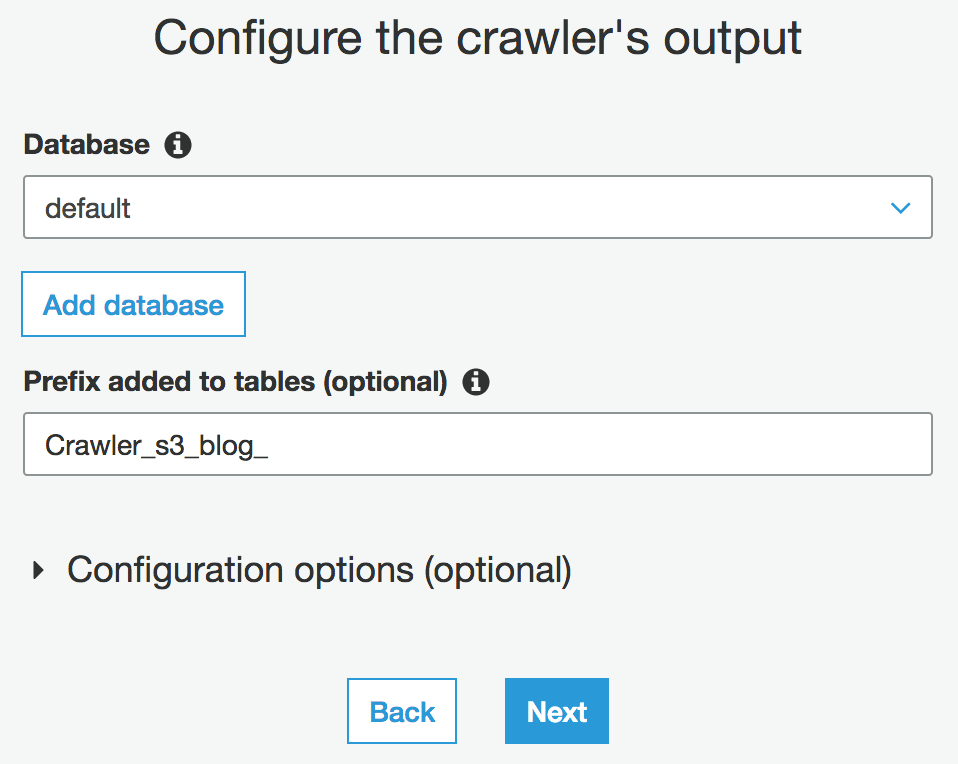
f. The next step is to chose the location where the output from your crawler will be stored. This is a database in Athena, and you can pre-fix the name of the tables created by your crawler to be distinguishable easily from other tables in the database:
g. Review your crawler’s settings and click on Finish. You’ll be redirected to the main Crawlers page, where your crawler is listed.
h. Click on “Run it now?”:

When crawler finished running, go to Athena console and check your table’s there:
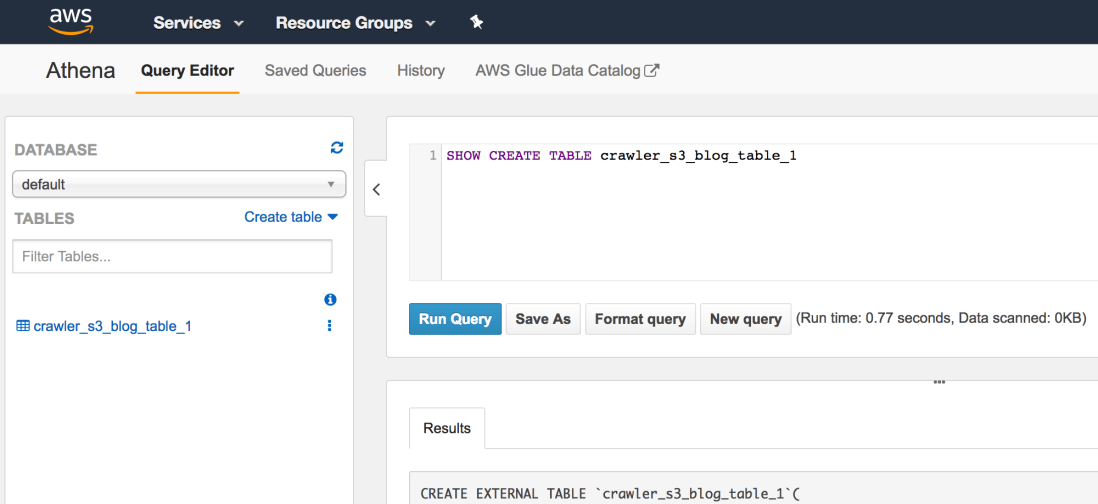
Examine table’s DDL. It’s an external table pointing to the location in s3 where your Crawler “crawled”. And start writing queries on it. It’s the first table you created using Glue crawlers. First of many. 🙂

3 thoughts on “AWS Glue Part 1: Discover and Catalogue Data Stored in s3”
Comments are closed.